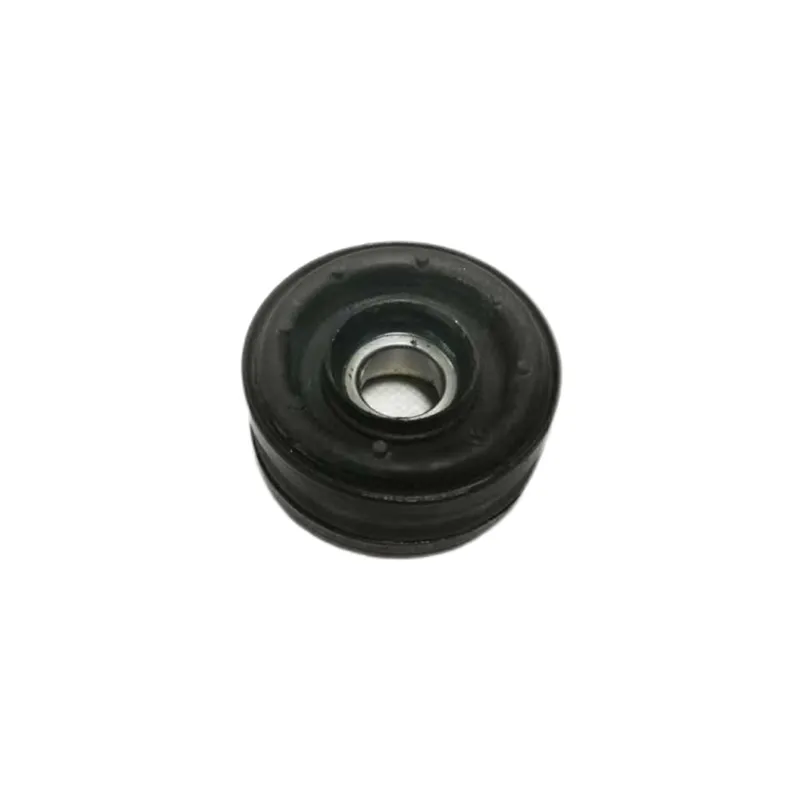
removing lower control arm
Removing the Lower Control Arm A Step-by-Step Guide
The lower control arm is a critical component in a vehicle’s suspension system. It connects the wheel hub to the car’s chassis, allowing for smooth handling and stability while driving. Over time, and with regular wear, it might become necessary to remove the lower control arm for inspection, maintenance, or replacement. This guide will provide an overview of the process involved in removing the lower control arm, important tips, and precautions to ensure safe and effective removal.
Tools and Materials Needed
Before starting the removal process, gather all the necessary tools and materials to avoid interruptions. You will need
- Jack and jack stands - Lug wrench - Socket set and ratchet - Wrenches (various sizes) - Pry bar - Hammer - Torque wrench - Safety glasses and gloves
Safety First
Before working under the vehicle, make sure you take the proper safety precautions. Always park the car on a flat, stable surface and engage the parking brake. Use wheel chocks to prevent the vehicle from rolling while you’re working. When lifting the vehicle with a jack, ensure it is securely supported by jack stands before getting underneath.
Step-by-Step Removal Process
1. Lift the Vehicle Begin by loosening the lug nuts on the front wheel of the side where you plan to remove the lower control arm. After loosening, jack up the vehicle and secure it with jack stands. Remove the wheel.
removing lower control arm

2. Disconnect the Sway Bar Link If your vehicle is equipped with a sway bar, locate the sway bar link attached to the lower control arm. Using the appropriate size socket or wrench, detach the sway bar link from the arm. This will allow for free movement of the lower control arm.
3. Remove the Ball Joint Connection The lower control arm is typically connected to the steering knuckle via a ball joint. To remove this connection, you will need to detach the nut from the ball joint and then use a ball joint separator tool or a hammer to pop the ball joint out from the knuckle.
4. Detach the Control Arm from the Frame The lower control arm will be secured to the vehicle frame or subframe by bolts. Locate these bolts and use a socket and ratchet to remove them. Some models might have additional brackets or supports; ensure these are also removed.
5. Remove the Control Arm Once all connections are disengaged, gently pull the lower control arm away from the vehicle. In some cases, it may be necessary to use a pry bar to help dislodge it from its position. Take care not to damage any surrounding components during this process.
6. Inspect Components After successfully removing the lower control arm, inspect it along with associated parts like the ball joint, bushings, and mounting points for any signs of wear or damage. This is an excellent opportunity to replace any worn components while you have the arm out.
7. Reinstallation If you are replacing the lower control arm, reverse the removal steps, ensuring all connections are tight. Use a torque wrench to tighten the bolts to the manufacturer’s specifications.
8. Reattach the Wheel Once everything is securely in place, reinstall the wheel and hand-tighten the lug nuts. Lower the vehicle from the jack stands and then fully tighten the lug nuts in a crisscross pattern to ensure even distribution of pressure.
Final Thoughts
Removing the lower control arm can seem daunting, but with the right tools and a systematic approach, it can be done efficiently. Always refer to your vehicle’s service manual for specific instructions and torque specifications. Finally, if you’re unsure or uncomfortable with any part of this process, don’t hesitate to consult a professional mechanic. Proper maintenance of your vehicle’s suspension system is crucial for safety, and ensuring that all components are in good working condition will enhance your driving experience.


